

Configure NLS for Label Widget
This tutorial explains how to configure and use National Language Support (NLS) for Language Translations in View.
Engineering UI configuration
-
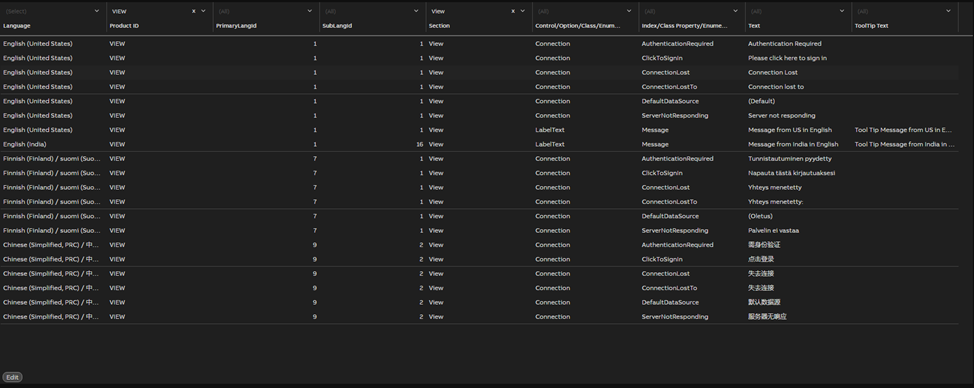
Navigate to Engineering UI and search for UIStrings/Language Strings so that all the UI Strings /Language Strings will be listed in the Data List with Edit option as shown in the screenshot below.
-
Defining enumerations: Enumerations are used for providing number-to-value translation in different languages. Enumerations are defined via multiple instances of the UIStrings class and have their properties defined as follows:
-
Property Name Value Section Used to group translations belonging together Key Used to group translations belonging together within a Section SubKey Used to group translations belonging together within a Section, Key PrimaryLangId Primary Language Id of the translation SubLangId Sub Language Id of the translation Text The translation to be displayed LongText Tooltip, used also for some other purposes -
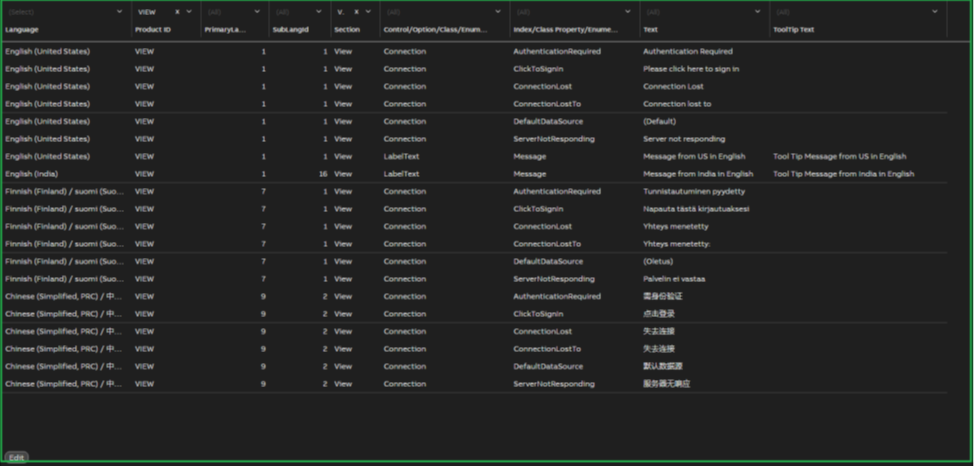
In the Data List table, insert View in the Product ID column to filter out the RTDB and VTRIN UI Strings. Then add required translations as shown in the screenshot below.
-
New translations can be created by first clicking the Edit button, and then the New button. A new line is then created. You may copy the relevant parameters from the corresponding English line to the new line. For the new line you can select the desired language and then add the translations into the TEXT and TOOLTIP TEXT fields. Once you are finished with the translations, remember to click Commit.
Example:
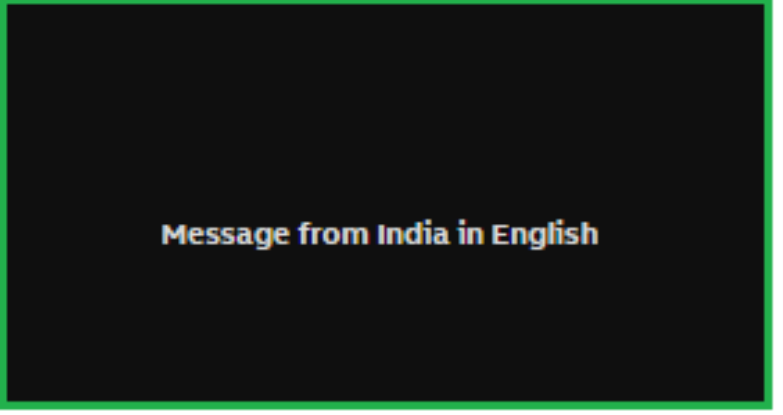
- There is a ‘Key: Label Text’ and ‘Sub Key: Message’ whose equivalent string in English-US is ‘Message from US in English’ and English-India is ‘Message from India in English’

Label widget configuration in View
- In View application Now create a new dashboard and add a Label Widget.
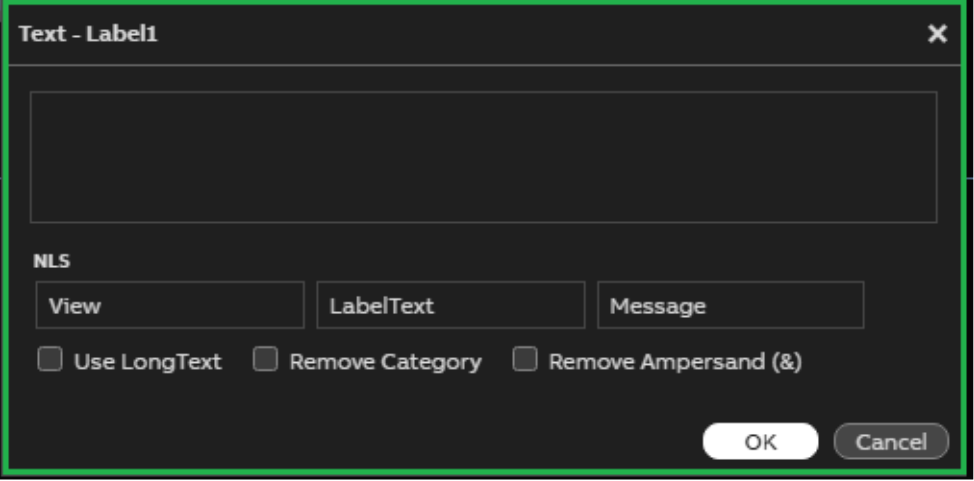
- Label widget has Text (NLS) property. Open text settings from the three dots. The opening window looks as image below. Fill in the NLS fields as follows:
- The first box is Section: Write 'View' there. provide Section as ‘View’,
- The second box is Key: Write ‘LabelText’ there.
- The third box is Sub Key: Write ‘Message’ there.
- Save settings on with OK.
-
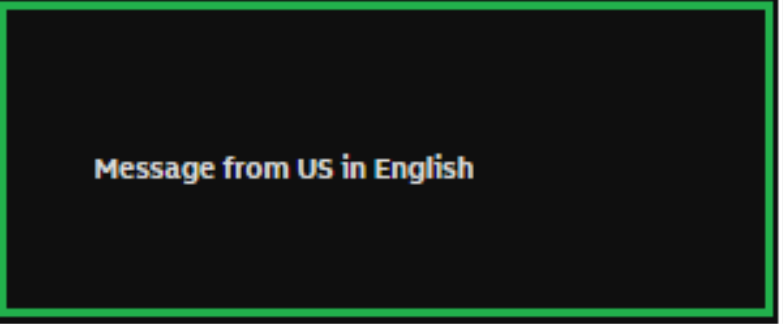
To test; Click on the Burger menu next to your user name in the top right corner of the application and select the language you made the translations to. Example of messages with our settings, are shown below.
-
Updated 2 months ago